Table of Contents
Intro
Mat-H can be a surprisingly difficult boss… That is if you don’t know how to exploit the boss mechanics, however RNG would play a factor and how you take advantage of said exploits. This article will explain mostly how to cheese the stage and not so how to “properly” play it and its mechanics as most of those will be ignored.
Turrets | Mechanics
There are multiple turrets that is summoned when fighting this boss, however there is only one turret to look at for when taking advantage of Mat-H, and this is the front turrets. These turrets deal little to no damage.
The other turrets hurt but can be destroyed or i-framed. However it is still preferred to RNG grind front turret spawns if you’re at high enough CP deficit unless using a team that takes advantage of invulnerability skills.
During phase 1, MAT-H simply summons minions and a shield promptly after. Turrets then appear, Simply RNG grind for front turrets. In phase 2, MAT-H summons minions and turrets at the same time which can be troublesome to handle.
The front turrets have a timer of around 2:00 minutes. After de-spawning, the boss may be in phase 2 depending on how much hp MAT-H has left (50%~<). if the user is unable to destroy MAT-H in around 2 minutes and can’t live through phase 2, it is recommended to I-frame/ Tank through a turret and destroying it, then hope the next spawn will be a front turret.
Image below indicate which are the front turrets.

I-framing
This section can be skipped as this isn’t required (or recommended) to do so unless wanted. Right before the turrets spawn, you want to cover. Getting the timing right is rather difficult, and the timings vary slightly as well. Doing this helps specifically when hoping for a front turret spawn, as it still dwindles the targeted Nikke’s HP at high enough CP deficit over the duration of two minutes. Doing this will eliminate the need for a sustain of any kind and can just focus on the boss.
Front Turret Stalling
Pretty simple. To avoid accidentally destroying front turret off burst, you can cover all your units until next full burst and continuing dwindling down its HP. A unit that generates good burst energy is recommended to manual during burst downtime. Example below is slightly scuffed, but should give you the idea on what to do. Will be replaced once there is better footage.
Team Comps
Note: Team comp section assumes you’re playing at High CS deficit, or a difficult challenge stage. Just use your usual team if you’re having no trouble tanking through all the front turret fire if you don’t feel like using the teams below.
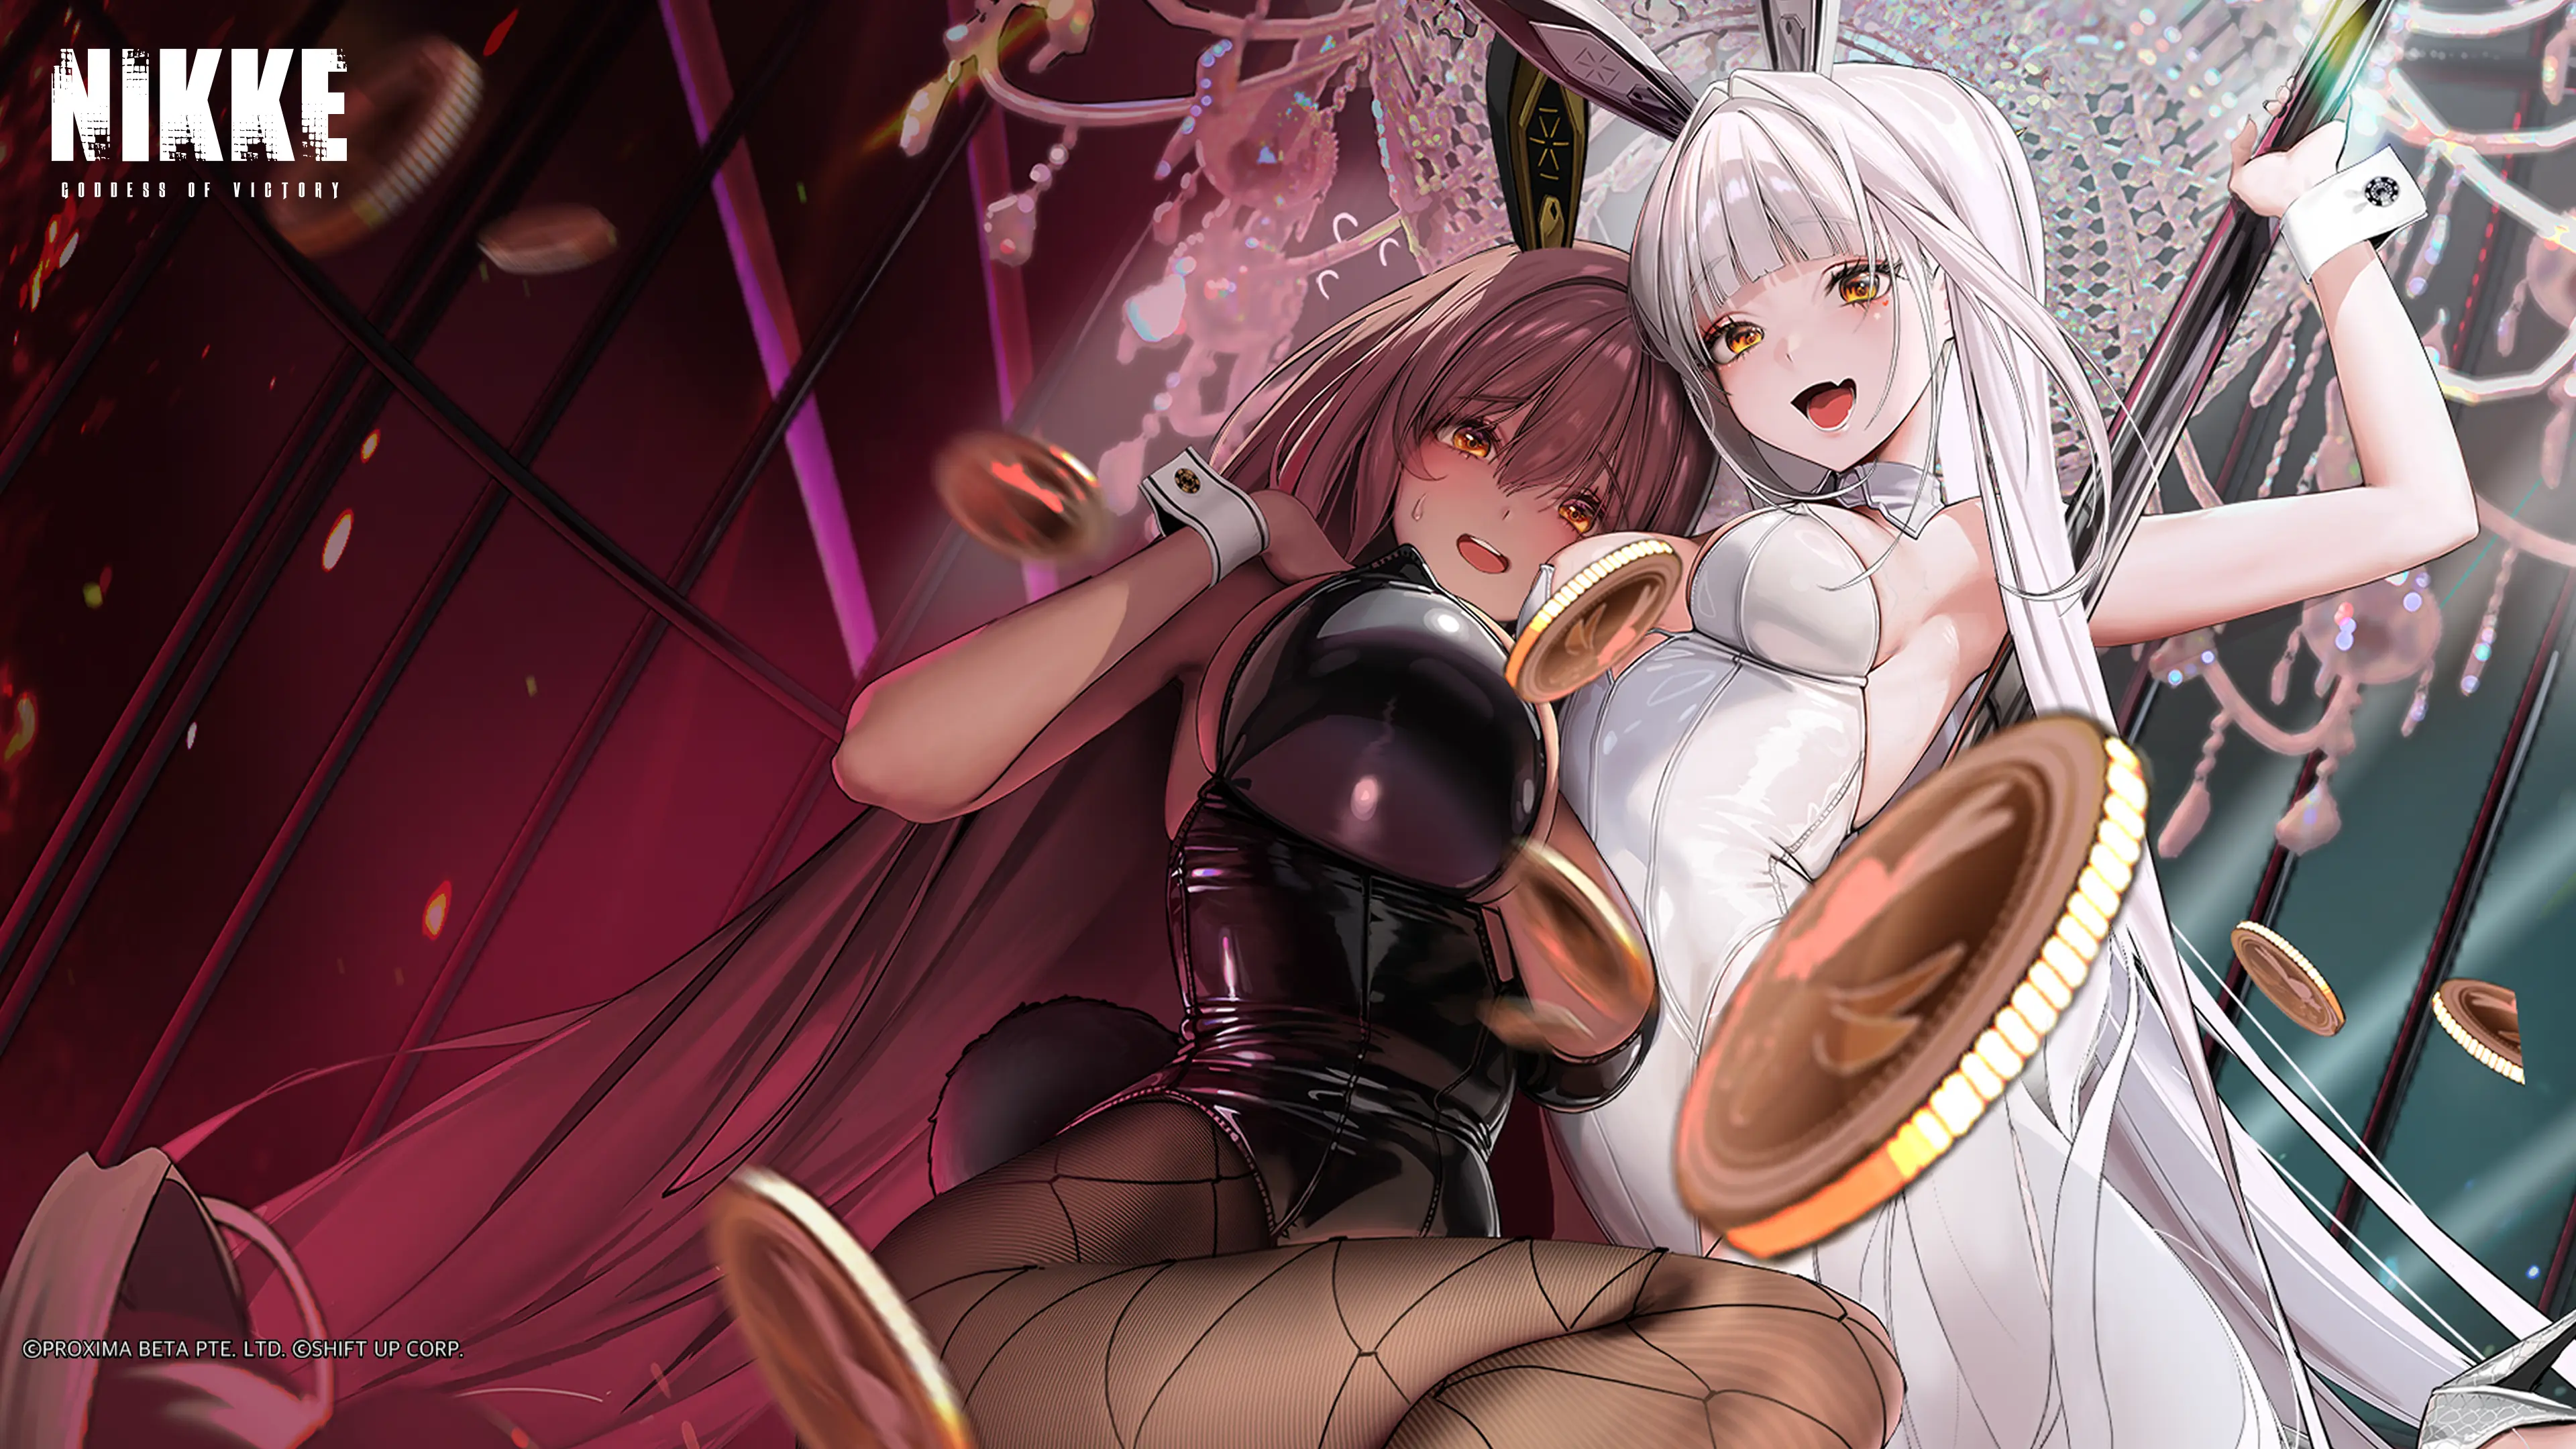
Bunny Twins


Roles
Liter = CDR | Volume, Dorothy = CDR
Blanc = Debuffer, Healer, indominable buff
Noir = Buffer, Sub DPS
Flex Attacker | Preferred Attacker (Preferably Scarlet or Alice)
Flex Attacker | Preferred Attacker (Preferably Modernia or Maxwell)
You guessed it. always the Bunny twins. Blanc’s indominable on her burst on lowest hp unit can be clutch against bad RNG spawn in turrets. She’s basically a cheat code when burst is timed right (Burst activated when turret is attacking unit and low enough HP).
Rapunzel Team


Roles
Liter = CDR | Volume, Dorothy = CDR
Rapunzel = Healing, Revive
Novel = Debuffer
Flex Attacker | Preferred Attacker (Preferably Scarlet or Alice)
Flex Attacker | Preferred Attacker (Preferably Modernia or Maxwell)
This team gives a revive and healing if needed to tank through front turret duration or have “forgiveness” for a bad turret spawn.
Helm Team


Liter = CDR | Volume, Dorothy = CDR
Helm= Healing, Buffer
Novel = Debuffer
Flex Attacker | Preferred Attacker (Preferably Scarlet or Alice)
Flex Attacker | Preferred Attacker (Preferably Modernia or Maxwell)
Lastly, a helm team. Because of her offensive support and great healing on burst, she’s a good offensive substitute for Rapunzel, although she does not have her revive.


