
Table of Contents
- Overview
- Should You Pull?
- Newbie/Incomplete Box Section
- Basic Information
- Normal Attack Information
- Skill 1: Seven Dwarves V + VI
- Skill 2: Shades of White
- Burst: Seven Dwarves Fully Active
- Campaign
- Arena
- Special Interception | Union Raid | Solo Raid
- Strengths
- Weaknesses
- Rating
- Recommended Cubes
- Doll Priority
- Expected Skill Priority
- Overload Gear Priority
All she hungers for now is revenge.

… and your growth mats.
Overview
- B3 Water SR Attacker Unit that hits enemies with sequential attacks.
- Highest burst gen in the game regardless of content currently, especially in campaign. Makes her relevant regardless of content.
- Highest permanently available Water DPS in the game, making her an important unit to obtain for anyone.
- Amazing single-target damage against one enemy.
- Above average wave clear, especially in high deficit (35%) and below.
- Some of the highest damage against coreless and partless bosses, in spite of her Pierce ability, since the bulk of her damage is from sequential attacks.
- Low ammo consumption and fixed charge speed means she needs less optimal OLs than other DPS units.
Should You Pull?
Yes. She is the strongest Water DPS by far, and considering Water languished in its lack of DPS potential for years as other elements kept getting the powerful 1% Pilgrim/Over-Spec units, this is the best opportunity to massively boost your Water DPS potential; not just for raids, but in all PvE content as a whole. She is also going to become the strongest permanently available Water DPS for the time being as soon as she is moved to Wishlist and Molds, so it’s good to get a head start ASAP.
On top of her great DPS potential in Water and even other elements thanks to how her kit functions, she also has the best burst gen in the game currently, in all content, both PvE and PvP. This will give her relevance regardless of how she is used, whether off-burst or the main DPS unit in a team. Her all-encompassing use makes her a very high value pull.
However, as Snow White: Heavy Arms was released alongside Rapi: Red Hood’s rerun, who is currently the best overall DPS unit in the game, on top of her greater flexibility in being usable as either a B1 or a B3 unit in PvE, it makes it a really tough choice on who to focus on, as both of them are so superb.
In my opinion, Rapi: Red Hood should remain the priority if you lack both of them. Rapi: Red Hood has greater potential in more content, outside of PvP. 1% units are just brutal to pull for, so while the event and other New Year goodies will give out a lot of pulls over the next few weeks, it’s highly recommended to use mileage if possible for either one, while pulls are focused on the other.
If you have the mileage, getting the one you need (both if you lack both) and saving the pulls obtained from the event is also an acceptable idea…
Newbie/Incomplete Box Section
Snow White: Heavy Arms (SWHA, Swole White, Chad White, etc) is a B3 Water SR Attacker that attacks in a unique fashion if allowed to full charge. Her method of attacking gives her both wave clear potential and great single target DPS potential.
Due to the sheer amount of hits she performs with every Full Charge attack, regardless of number of targets, it gives her the highest burst gen potential in the game currently, especially in campaign.
Since she is by far the strongest permanently available water DPS unit in the game, it is recommended to get her, as Water needs to do some massive catching up in overall DPS potential compared to the other elements, especially as Wind was given a massive boost for the third anniversary.
Basic Information
- Skill 1: Seven Dwarves V + VI
- Skill 2: Shades of White
- Burst: Seven Dwarves Fully Active
- Cooldown: 40s
- Rarity: SSR
- Burst: III
- Weapon: SR
- Class: Attacker
- Element: Water
- Manufacturer: Pilgrim
- Squad: Goddess
- Weapon Name: Seven Dwarves I + II
Normal Attack Information
Snow White has a very unique way of attacking if allowed to Full Charge every shot. If manualed to spam shots, she will shoot like a normal sniper rifle, which is definitely not recommended, thanks to how her unique Full Charge Works.
Every time she prepares a Full Charge, Snow White scans the entire screen for up to 5 enemies, prioritizing enemies closest to the crosshair. Successfully scanned enemies will have a reticle visual on them and are considered a ‘Lock On Target’. When she releases a Full Charge attack, she fires off a piercing shot, hits the entire screen with a small amount of damage, and releases 5 sequential attacks that will target the opponents affected by Lock On.

Notice how the first enemies affected were the ones closest to the crosshair, before it defaulted to targeting enemies much further away.
As these are sequential attacks, they will be equally distributed to the number of targets available. Unlike other sequential attacks, these will only specifically target enemies affected by Lock On, and will ignore enemies without a reticle visual on them. If a Lock On target dies before they are hit by a sequential attack intended for them, it will default to any of the remaining 4.
If there is only 1 enemy target available, that single Lock On target will receive all 5 sequential attacks, giving her incredible DPS potential against lone targets.
Using Burst triples the number of potential targets to Lock On to and the amount of sequential attacks output per Full Charge Attack from 5 to 15 for up to 2 shots.
As she is still considered a Sniper Rifle, the normal attack she performs will gain bonus damage against Long Range targets only. The damage from the screen hit or the sequential attacks are completely unaffected by Optimal Range damage bonus.


Skill 1: Seven Dwarves V + VI
Activates every 0.2 sec while charging. Affects the enemy unit nearest to the crosshair that is not in Lock-On status.
Lock-On
Function: Designates the enemy as a target of Seven Dwarves
Max Lock-On targets: 5
Removal condition: Performing a normal attack or taking cover.
Activates every 0.2 sec while charging. Affects self.
Auto Fire Ready
Function: Loads Seven Dwarves with ammo.
Effects: DEF ▲ 42.24% continuously.
Max ammo loaded by Auto Fire Ready: 5
Removal condition: Performing a normal attack.
Activates every 0.2 sec while charging. Affects all enemies in Lock-On status.
Damage Taken ▲ 4.2% for 4 sec.
Activates when attacking with Full Charge.
Auto Fire
Function: Attacks Lock-On targets with Seven Dwarves.
Effect 1: Deals 41.9% of final ATK as damage. Affects all enemies.
Effect 2: Deals 105.59% of final ATK as damage. Affects Lock-on targets. Attacks sequentially based on the amount of ammo loaded by Auto-Fire ready.
Activates when attacking with Full Charge while in Seven Dwarves Fully Active status. Affects self.
Number of uses of Seven Dwarves Fully Active ▼ 1
Activates when performing a normal attack. Affects self if not in Full Burst.
Removes Seven Dwarves Fully Active.
Every time SWHA begins to charge up an attack, she scans the screen throughout her 1.2s charge time. Every 0.2 seconds, she targets any enemy, prioritizing those closest to her crosshair, with the Lock On debuff, visually having a reticle on top of them. Any enemy affected by the Lock On debuff receives a slight Damage Taken Up debuff.
While charging, she increases her own DEF to endure attacks better, as she’s unable to take cover throughout this process. Something to note is that she isn’t immune to crowd control while charging. Stuns will cancel the charge and force her to start the process again.
Once at least 1.2s seconds pass, she is able to release her unique attack; on top of her normal attack, she will first hit all enemies in the screen for a slight amount of damage. Then, every target that received a Lock On debuff will be hit by a sequential attack. Unlike other sequential attacks, these will exclusively target enemies that were locked onto, and not any other targets.
If an enemy that was Locked On dies before the sequential attack is fired at them, its sequential attack will be redirected to any of the remaining Lock On targets. If the attack is launched, and the enemy dies before it hits them, the sequential attack is wasted.
Note about Effect 2 of Auto Fire
Even though the skill states that it will fire sequential attacks based on the amount of ammo loaded by Auto-Fire ready, since uncharged attacks completely disrupt the process, in regular gameplay, this will always be 5 sequential attacks fired, under all circumstances. It isn’t possible to fire off fewer.
This is where most of her damage and burst generation comes from. The amount of burst generation she receives from this skill can’t be understated, especially in campaign. The best part about this burst generation is that it’s always this strong, regardless of skill investment: Both her skills cause her to hit so much right off the bat.
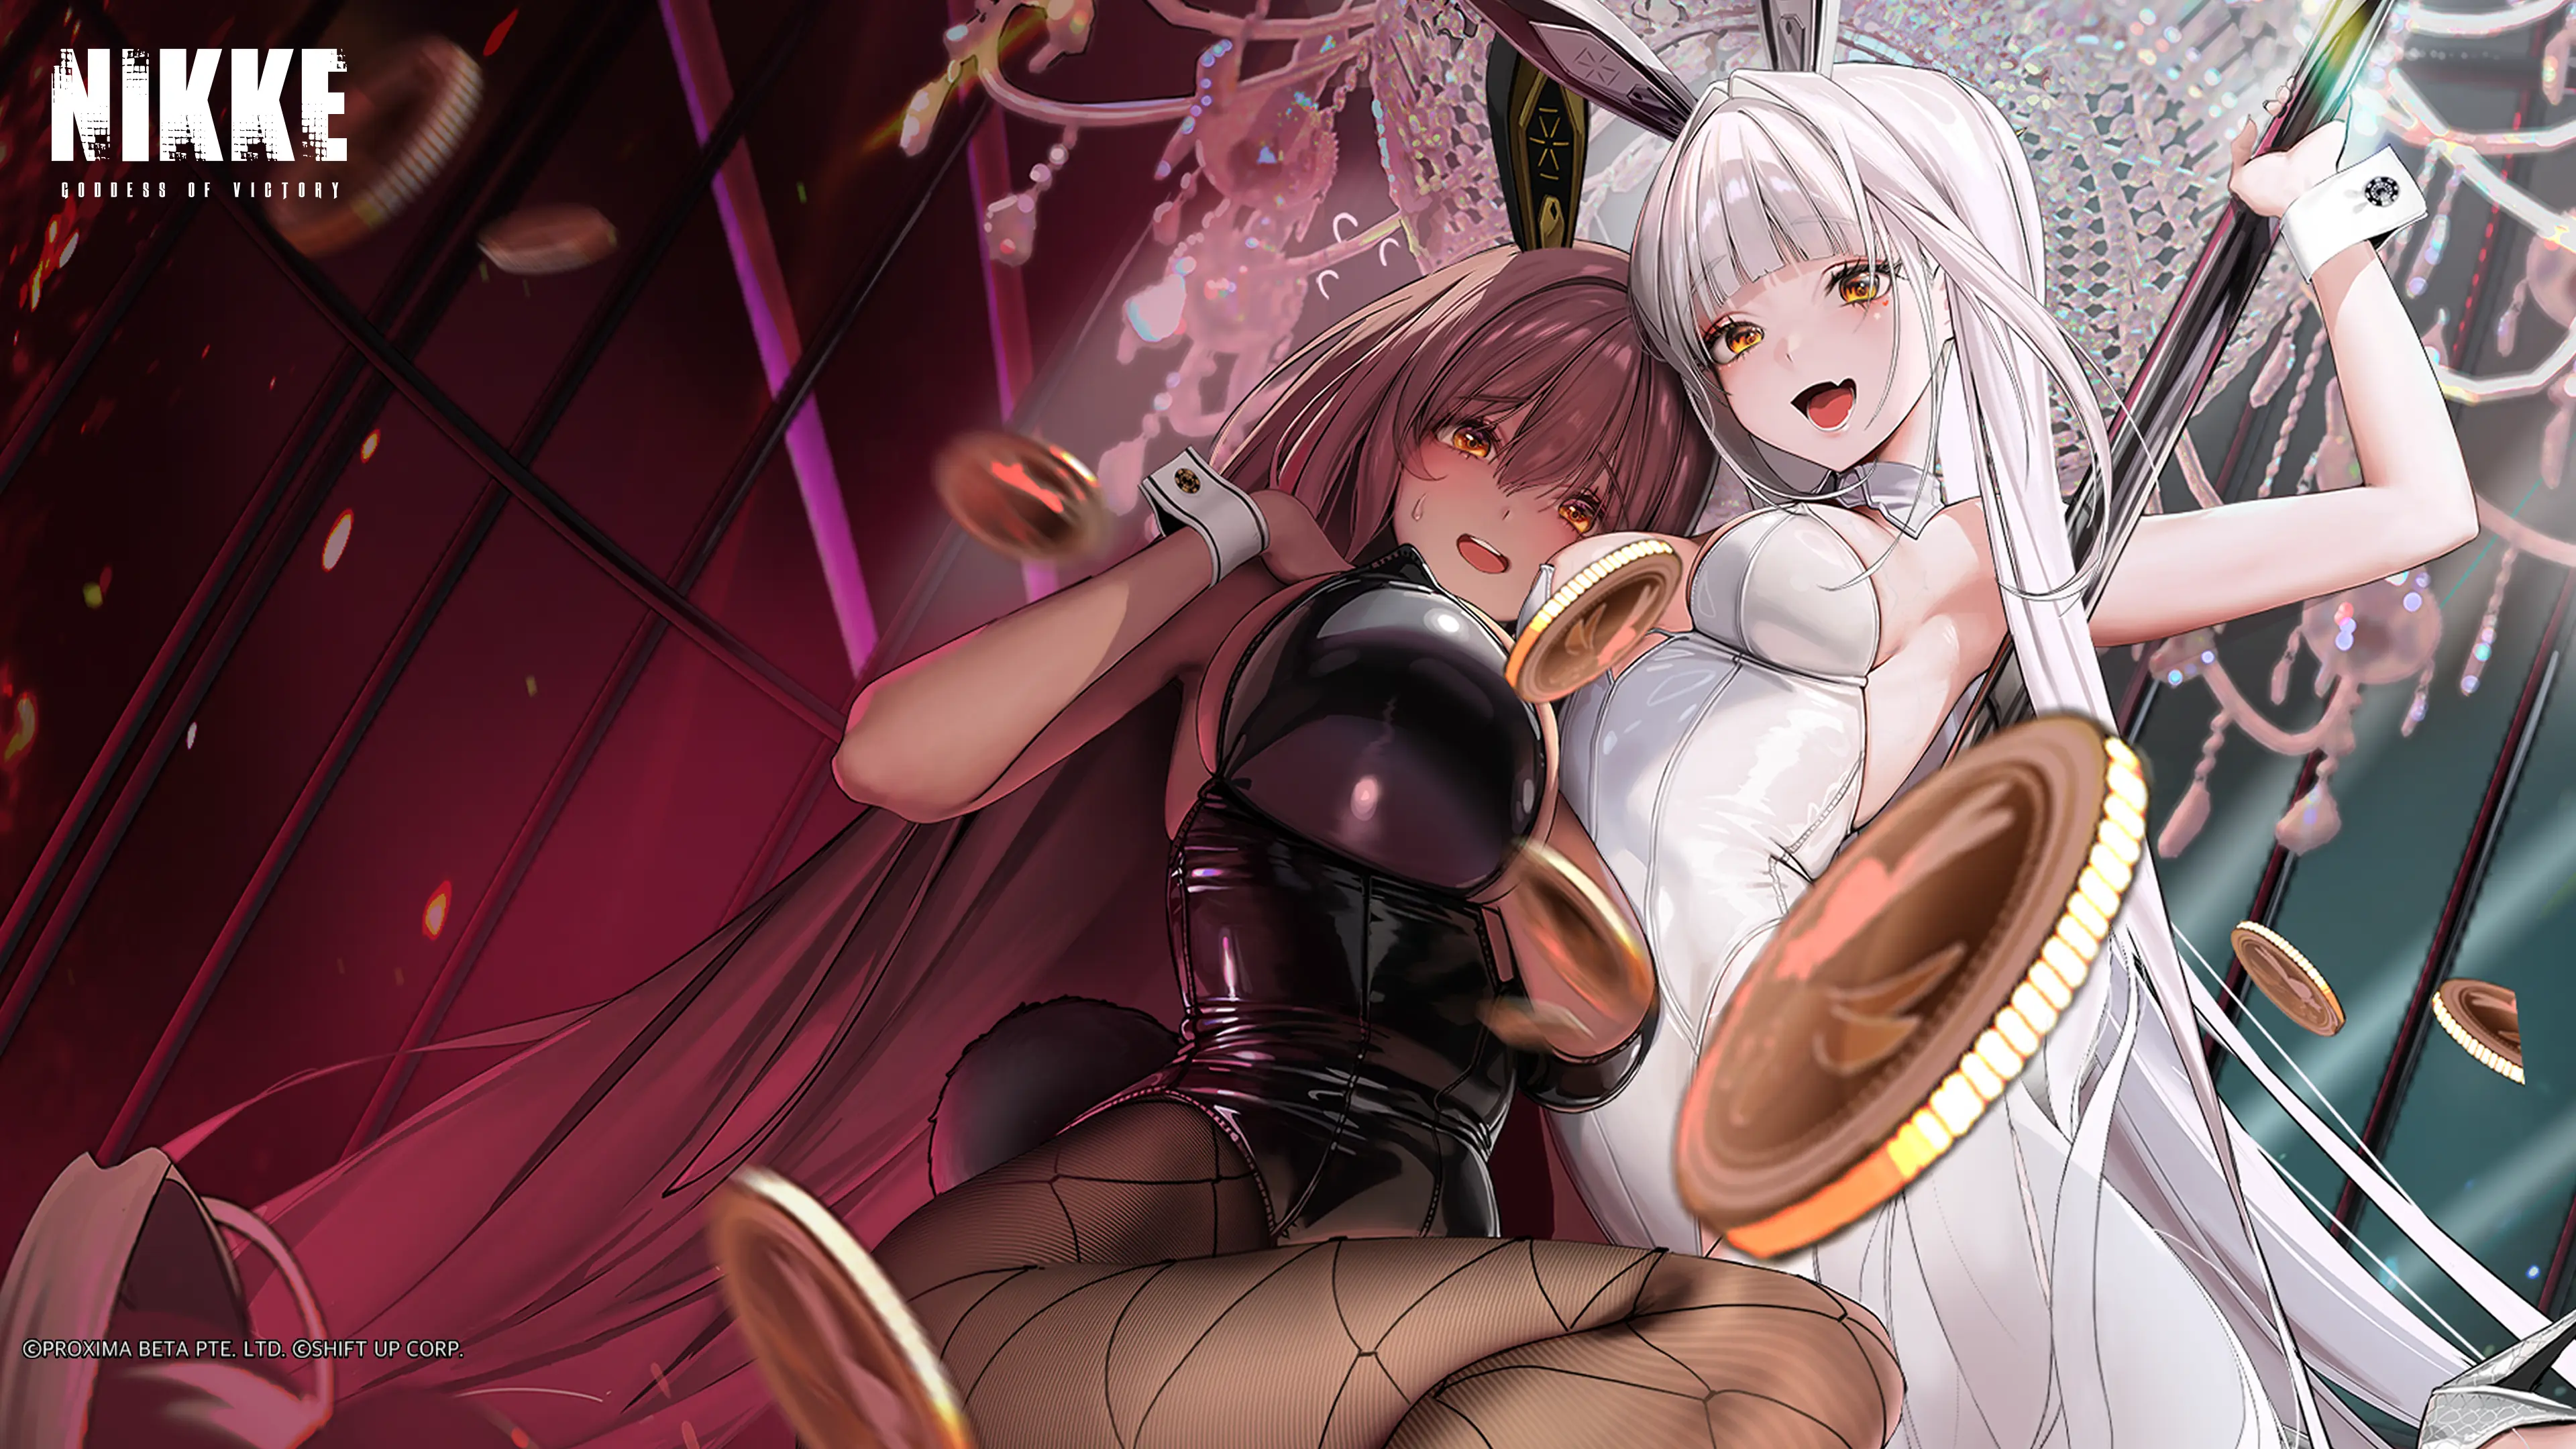
Snow White: Heavy Arms
Liberalio
Helm (Treasure) (S1 Level 10)


Note: Burst generation against bosses is doubled. While charge speed will make Liberalio and Helm (Treasure) faster vs. bosses, it’s not that much faster to render SWHA’s gen lesser.

Against a boss with (many) parts, the piercing normal attack on top of all the other damage can immediately prepare a burst. The more parts, the more burst generated. The other meta high burst generators don’t have this advantage.
SWHA’s burst gen is monstrous all thanks to S1 in campaign, and both S1 and S2 against bosses. In normal maps and PvP, the screen hit S1 performs generates burst for each enemy hit, the normal attack and the five sequential attacks, resulting in her burst gen linearly scaling with the number of enemies available to hit.
Against bosses, the combination of her five sequential hits, screen hit and potential to deal additional damage by hitting parts with the Piercing normal attack from S2 results in SWHA having the highest burst gen floor and ceiling on an individual unit. Only Grave post-burst with a bunch of machine guns is faster, but this isn’t always practical, and a whole team is needed for this vs just one individual SWHA.
Note about the last two parts of S1
When performing a normal, uncharged attack with her Burst active, the ammo count from her Burst won’t go down. This is occasionaly useful if SWHA is left on autoplay; if the boss teleports away mid-charge, the boosted charge attack from Burst will not be wasted for a shot that wasn’t fully charged. A boss or enemy teleporting a lot will not waste ammo, only time.
If there is any Burst ammo left over after Full Burst ends, the next normal attack will be a Burst boosted shot, but remaining ammo will be discarded, effectively wasting it. Ideally, this effect should never occur in normal gameplay.
Skill 2: Shades of White
Activates at the start of battle. Affects self.
Fixes charge time at 1.2 sec continuously.
Activates during Full Charge. Affects self.
Gains Pierce for 5 sec.
ATK ▲ 46.84% for 5 sec.
Damage to Parts▲ 62.64% for 5 sec.
Activates when entering Burst Stage 3. Affects self.
ATK ▲ 73.92% for 10 sec.
Activates when at Full Charge only while in Seven Dwarves Fully Active status. Affects self.
Charge damage ▲ 528% for 1 round(s).
Sequential attack damage ▲158.4% for 1 round(s).
Snow White’s charge time is fixed at 1.2 seconds. This means that charge speed buffs from allies and OLs are useless on her, but it also means that she is unaffected by charge speed debuffs from enemies.
Every time Snow White manages to reach a Full Charge, she will give herself a big ATK buff, her normal attacks will gain the Pierce property, and she will gain a high Damage to Parts buff to take advantage of her attack gaining the Pierce property against bosses that have many parts.
It should be noted that this effect kicks in upon reaching a Full Charge, and not upon firing a Full Charge shot; this means she will benefit from this upon the very first shot. Since Snow White has a charge time lower than the buff duration, all of these buffs are effectively permanent for the rest of the battle.
When entering Burst Stage 3, she will further increase her own ATK. Since this buff happens upon entering Burst Stage 3, she will always have it active whether or not she is going to burst or not. Thanks to her incredible burst generation, this buff will have incredible uptime combined with enough cooldown.
When Snow White has Burst active, when she reaches Full Charge, she empowers her next attack to have massively increased charge damage, and boosts the damage of the sequential attacks. Unlike most other effects related to Full Charge, and just like her other S2 Full Charge effects, this effect activates as soon as Full Charge is attained, rather than after a Full Charge shot is fired. This distinction allows both shots from Burst to benefit from this incredible boost.

Notice the Charge Damage meter immediately jump from 266% to 700%+, as well as the text [SVD FULL ACTIVE] popping up. This means the last part of S2 is active.
NOTE: The ‘sequential attack’ damage boost from the last line of S2 boosts damage based on ‘Attack Damage’ instead of being a Final ATK modifier. This results in a lower damage boost than expected… but it’s still a lot.
Burst: Seven Dwarves Fully Active
Cooldown: 40 sec.
Affects self.
Attack Damage ▲ 84.48% for 10 sec.
Seven Dwarves Fully Active
Function: Increases max number of Lock-On targets and max ammo loaded by Auto Fire Ready, but also increases Charge Time.
Number of uses: 2
Effect 1: Fixes charge time at 3.2 sec continuously.
Effect 2: Max Lock-On targets ▲10 continuously.
Effect 3: Max ammo loaded by Auto Fire Ready ▲10 continuously.
Removal condition: When number of uses reaches 0.
Affects all destructible projectiles.
Deals 41.9% of final ATK as damage.
Upon activating Burst, SWHA gives herself a huge Attack Damage buff for 10 seconds, which multiplies well with the high ATK buff gained from S2. She will also fire off a missile barrage that only affects destructible projectiles, not enemies. Most importantly, she will modify her weapon: for the next 2 shots, she will increase the charge time by 2 seconds, from 1.2 sec. to 3.2 sec., but in exchage:
- The number of targets she can lock onto is tripled from 5 to 15.
- The number of sequential attacks performed is tripled from 5 to 15.
- From S2, she will massively boost the charge damage of basic attacks and increase the damage of her sequential attacks.
This is great in campaign content, but downright devastating against bosses. A single target taking the damage from 15 boosted sequential hits and more, twice, the DPS jumps through the roof every Burst use. After firing off the two empowered shots, she will return to her standard weapon for the remainder of Full Burst.
Campaign
SWHA is incredibly powerful in campaign; her supreme burst gen potential and ability to whittle down lots of regular enemies with every basic attack give her a lot of campaign use. She can either be one of the fastest burst gen batteries for a team, or be one of its main DPS dealers. The slight damage taken debuff she provides, and supplemental wave clear give her a solid place in campaign teams, even off-element.
Against water-weak maps in particular, SWHA is the best unit to bring against them by far. Not only does she have significantly better campaign performance than the other great water DPS units under most circumstances, in terms of both burst gen and damage potential, but she also fits a lot easier into any team without needing to cater to her specifically.
There is only one particular enemy you reconsider using SWHA against: Volleyballs. The screen hit from S1 will trigger its counterattack very easily, making it difficult to deal with the standard way, whether through Distributed Damage, Ein’s true damage Near Feathers, or one shotting it with a singular, strong hit. S1`’s screen hit can unintentionally keep triggering its Salvo counterattack if not stopped.

blocks your path

It’s not explicitly clear, but it will only perform its Salvo as a counterattack if hit by any attack that does not kill it. Snow White’s S1 screen hit does make this happen.
If a map contains Volleyballs, and you are struggling to clear it, and are using SWHA, it is highly recommended to not use her for such maps specifically. Her S1 effects, while valuable for burst gen, counterintuitively make it difficult to deal with Volleyballs. The same is true for maps that have Volleyballs within the Pilgrim/Over-Spec tower.
Arena
SWHA is now the queen of burst gen in arena, at least, at the start of combat. Thanks to S1 and a fixed 1.2s charge time, she is slightly faster than Helm (Treasure) and notably faster than other notable high burst gen units, reducing the time to reach full burst in PvP.
Every auto generates so much burst due to each attack effectively hitting 12 times at the start of a match: 5 hits from the screenwide hit against the Nikkes, 5 sequential attacks, 1 piercing attack that hits both the Nikke and the cover they hide behind.
SWHA can either be the burst gen battery for a team, or be the main B3 DPS. Her burst can be used similarly to Emilia’s burst, with Blanc or taunters further supporting her to ensure she doesn’t get killed off prematurely as she unleashes devastating charge attacks against her opponents.
While her burst gen will lower as the opposition is picked off, it doesn’t fall off fast enough, as the sequential attacks still provide a lot of hits, and for at least the first burst of Arena, SWHA’s burst gen is at its maximum. Even afterwards, it remains incredible, though arena matches tend to be so short, often the first burst will decide the match.
Special Interception | Union Raid | Solo Raid
Water-weak bosses, prepare to face your destiny. SWHA is immediately effective against any Water-weak boss, with one exception. Her DPS is phenomenal against them, her buffer independence (thanks to her high self-buffing) allows her to fit into any team with little adjustment and still output amazing damage against them, and her burst gen allows DPS to remain consistently high throughout the encounter.
Thanks to her high burst generation and high self-buffing, Snow White is also valid in element-neutral content: she can be a secondary DPS unit, supporting the team with burst gen, supplemental DPS and the permanent Damage Taken debuff, or even a primary DPS unit if built well. She is a very good unit against bosses, especially if they have parts for her normal attacks to pulverize.
Against bosses that are always alone, little preparation is needed. SWHA’s S1 and Burst are built incredibly well against them, where the sequential attacks will all pile onto one target, resulting in massive damage taken.
Against bosses that spawn mobs, namely Harvester from Anomaly Intercept, SWHA will easily take care of the mobs and keep primary focus on the boss, as its spawns keep getting killed off. However, it should be noted that as long as mobs are spawning, sequential attacks will be redirected away from the boss and onto them.
If the screen hit attack that S1 performs first, or SWHA’s basic attack doesn’t kill the mob in question before the sequential attacks are fired, some DPS loss will occur from sequential attacks not hitting the boss without additional help.
Against bosses that spawn additional mobs, it’s recommended to bring units that can hit multiple units at once with their own attacks or skills to help SWHA with ensuring her sequential attacks focus on the boss. This will matter a lot for her burst boosted attack, which releases triple the sequential attacks, each of them with a big boost in damage.
Examples of units that can deal with mobs alongside SWHA, to maximize DPS against the primary boss.
Note: Bready will need a Distributed Damage buff to enable her to deal Distributed Damage
Outside of these specific units, rocket launchers or units with good supplemental wave clear will also help SWHA in maximizing DPS against the main boss.
Against Black Snake in particular, SWHA will need a specific team setup; Even though the boss is Water-weak, the boss is well prepared for her: its clones will take 1 damage against any attacks outside of Distributed Damage. As long as they are alive, they will keep redirecting sequential attacks away from the main Black Snake boss, reducing DPS dealt by them to a third if not taken care of.
For those reasons, if utilizing SWHA against Black Snake specifically, you have to come prepared. Either bring MG allies to take down the clones ASAP and minimize the damage loss, or utilize distributed damage to one shot them quickly; SWHA simply can’t deal with the clones on her own.
Examples of Distributed Damage units to use vs Black Snake
Note: Bready will need a Distributed Damage buff to enable her to deal Distributed Damage
Outside of Distributed Damage, machine gun units also do good work at taking down the clones. Focus them down before maintaining full focus against the boss.
For Solo Raids specifically, SWHA’s best supporter is Miranda (Treasure) (MirandaT) by far. She doesn’t get very much out of other B1 supports by comparison; a guaranteed crit on her first attack and a ton of crit damage that she doesn’t get anywhere else, so it works well with her kit.
While the second burst boosted normal attack will not have boosted crit rate, amplifying one of them makes it incredibly worthwhile to use MirandaT for SWHA, especially as no other Water DPS uses MirandaT well at the moment. Liter and Volume buffs won’t amplify the second attack anyway, and other B1 buffers give her too little by comparison.

SWHA maintaining the tradition of functioning well with MirandaT that all her alters maintain.
Strengths
- Highest burst gen floor and potential in the game by far.
- Permanent slight damage taken debuff against any enemy.
- Destroys parts like it’s nothing thanks to Pierce and huge Damage to Parts self-buffing.
- Auto-friendly; recommended to play like this if you can’t manual properly.
- Incredible DPS regardless of content.
- High self-buffing gives her a lot of buffer independence and power in element neutral content.
- Whittles down mobs, allowing full focus on important targets, like the boss.
- Incredible PvP prowess thanks to how her kit works.
- Even with so much capability in Parts destruction, she still performs well vs partless bosses, because of sequential attack DPS.
Weaknesses
- Suffers against enemies that take fixed damage.
- Sequential attacks function make it difficult to focus down on individual enemies in campaign, even with burst active.
- Wave clear potential falls off past high deficit; her burst generation is still crazy, though.
- Fixed charge time is a nerf, as she can’t benefit from charge speed buffs, resulting in fewer ways of increasing personal DPS.
Rating
| Category | Rating |
|---|---|
| Overall | SSS |
| Story | SSS |
| Bosses | SSS |
| Arena | SSS |
Recommended Cubes
As a Sniper Rifle unit with low overall ammo consumption, and benefitting little from anything else, going for the strongest cubes in your arsenal is recommended, which are likely to be Resilience or Bastion, with priority given to Resilience, as it benefits low base ammo more.
A case can be made for the Piercing Cube, to benefit her basic attack at all times, though it should be noted that it doesn’t benefit her sequential attacks. Recommended if playing her off-burst in campaign as the best way to increase her passive DPS.
SWHA with Tempering Cube can be annoying to face in PvP.
Doll Priority
Even though she benefits little from the DPS effect Sniper doll gives, she has very high priority. The damage reduction and DEF up combines with the DEF up from S1 to prevent her from falling to enemy fire in campaign and vs bosses; since she is rarely taking cover, this is one of the biggest benefits doll has for her.
Outside of that, the high base stats help her scale very well into end-game. As a unit that can see use in all content (campaign, boss, PvP), investing a doll on her will not go to waste.
Expected Skill Priority
| Nikke | Budget Skill Investments | Recommended Skill Investments | Skill Priority | Notes | Investment Priority |
|---|---|---|---|---|---|
| Snow White: Heavy Arms | Skill 1: 7 Skill 2: 7 Burst: 7 | Skill 1: 10 Skill 2: 10 Burst: 7 | S1 = S2 | Skill 1 is where her a large part of her DPS comes from; the screen hit, sequential attacks, slight damage taken debuff for herself and allies. Skill 2 provides her self-buffing; The semi-permanent huge attack buff, Damage to Parts, boosting the benefits of using Burst, it’s a must have. Burst is where SWHA gets a powerful Attack Damage buff; that being said, Attack Damage is one of the most common buffs from S2 supporters. It can be maxed, though it is of a lower priority. | Highest |
Overload Gear Priority
Gear Priority = Head > Gloves > Chest > Boots
| Attribute (Sub-Stat) | Priority | Recommended | Notes |
|---|---|---|---|
| Increase Element Damage Dealt | ★★★★★ | 4x | Wanted for Union Raids and Solo Raid content. |
| Increase Hit Rate | ☆☆☆☆☆ | 0x | — |
| Increase Max Ammunition Capacity | ★★★★☆ | 1-2x | Due to her low ammo consumption, she doesn’t need ammo as much as her contemporaries. Try to aim for 1 high ammo line, or 2 low/medium ammo lines at most. |
| Increase ATK | ★★★★☆ | 3 – 4x | Simply more damage. Considering how much ATK she gives herself from S2, though, it’s not as beneficial as aiming for more elemental attack. |
| Increase Charge Damage | ☆☆☆☆☆ | 0x | The bulk of her damage is from sequential attacks, which Charge Damage doesn’t benefit. Burst buff also dilutes its benefit. |
| Increase Charge Speed | ☆☆☆☆☆ | 0x | As a unit with fixed charge time, charge speed is useless for her. |
| Increase Critical Rate | ★★★★☆ | 2 – 3x | Recommended to increase her general DPS in campaign. Not as useful in raids if using her with MirandaT. |
| Increase Critical Damage | ★★★★☆ | 2 – 4x | While the benefit is slight without MirandaT, it’s the best DPS up outside of elemental damage and ATK because it increases the benefit of playing with MirandaT. |
| Increase DEF | ☆☆☆☆☆ | 0x | Though she has a big self-DEF buff from S1, there is no need to get anymore. |


Sorry for the delay, all. I was tending to a back injury.
Thanks for the guide, and hopefully you will recover fast from the back injury, get well soon!
Thanks bro, great guide! Get well soon!
thanks!
I mean, it was just a slip on the ice, i’ll be fine.
thank you all, though.
feel better! I was waiting to see if charge speed OL actually mattered, since I messed on the last one with this fixed charge speed thingy
HOLY NOW WE ARE TALKING! SSS for everything, this UNIT IS CRAZY! must pull boys don’t lose on her she’s busted as a demon, creep is here FINALLY!
TLDR: GET HER!
What kind of teams should we be looking at for her? You mentioned MirandaT as her B1, but would Bunny Ade work for her B2, or the Pirate Maids with someone like xLud or RRH as your second B3?
I struggled to think of great B2s for her, that I don’t really think it matters. She gives herself so much ATK, and Attack Damage from burst, she’s quite buffer independent. the reason I specified mirandaT is because out of all available b1 units, mirandaT gives her the greatest benefit over what’s available. (note that ofc, this is raid only)
But meta B2 buffs are somewhat homogenized atm. Any B2 that provides attack damage is good for her when it’s not her turn to burst (mirandaT buff will buff SWHA’s shot off burst, given her high self ATK buffing) Maids would be great, but don’t work with MirandaT
B3, I suspect her best ally will be xLud for water weak raids. We’ll see soon enough. I suspect it cuz mirandaT gives her high dps on burst and off burst, so boosting that with perma.dmg taken debuff and xlud getting mirandaT crit dmg buff for her higher crit rate also has synergy.
Should I take 1 copy SW or 3 star? I mean 1% chance..
Just settle for 1 copy. She is powerful, but she works well enough at 1 cooy.
Your resources are best spent getting more nikkes overall than empowering one in particular, especially with the average power level of new nikkes going up.
Yea tbh when I got her to 1 star off first 10 pulls, she pushed me forward about 2.5 hard campaign chapters. I already figured she would be an absolute beast when I read her sequential attack skill but dayum, was not disappointed. Good analysis! Feel better!
Which one should I go for? SW or Rapi Red Hood?
Already have 1 copy of them…
Am I right in seeing that her sequential attack is not affected by taunt in arena? I feel like this is a really rough design choice, it used to be that at high cp deficits you could still win with the right team comp so knowledge was rewarded really well, but now if your opponent has a high enough level Snow White they will just kill your entire team in the first 1.2 seconds. This doesn’t matter too much in SP arena cause you can focus all your energy into their other two teams but it has made Rookie Arena even more of a joke than it already was.
TL;DR: Please make her sequential attack affected by taunt in arena that’s literally all you need to do to make her…. well not BALANCED but like make the game playable again
Or if there is actual counterplay that I don’t know about please someone tell me